

How do I create a chat group?
Learn how to create a group chat, set access levels, add members and manage or delete chats in just a few simple steps.
In this article, you will learn how to create a group chat.
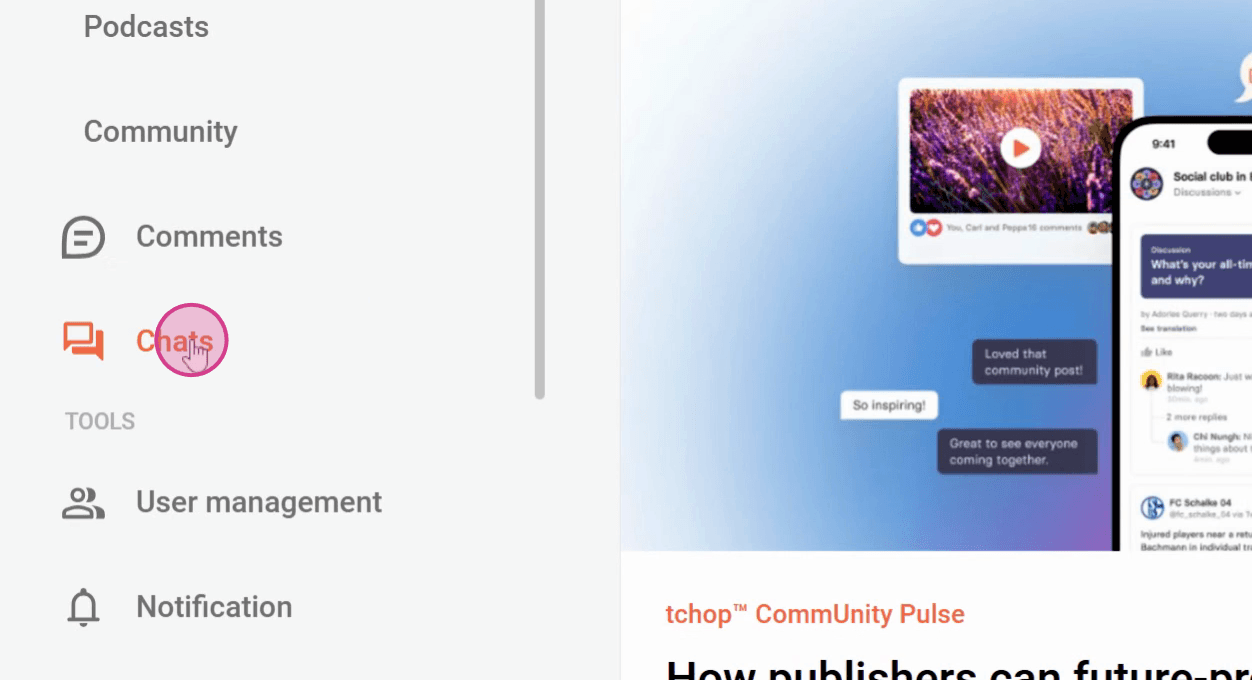
Step 1: Click on Chats on the left.
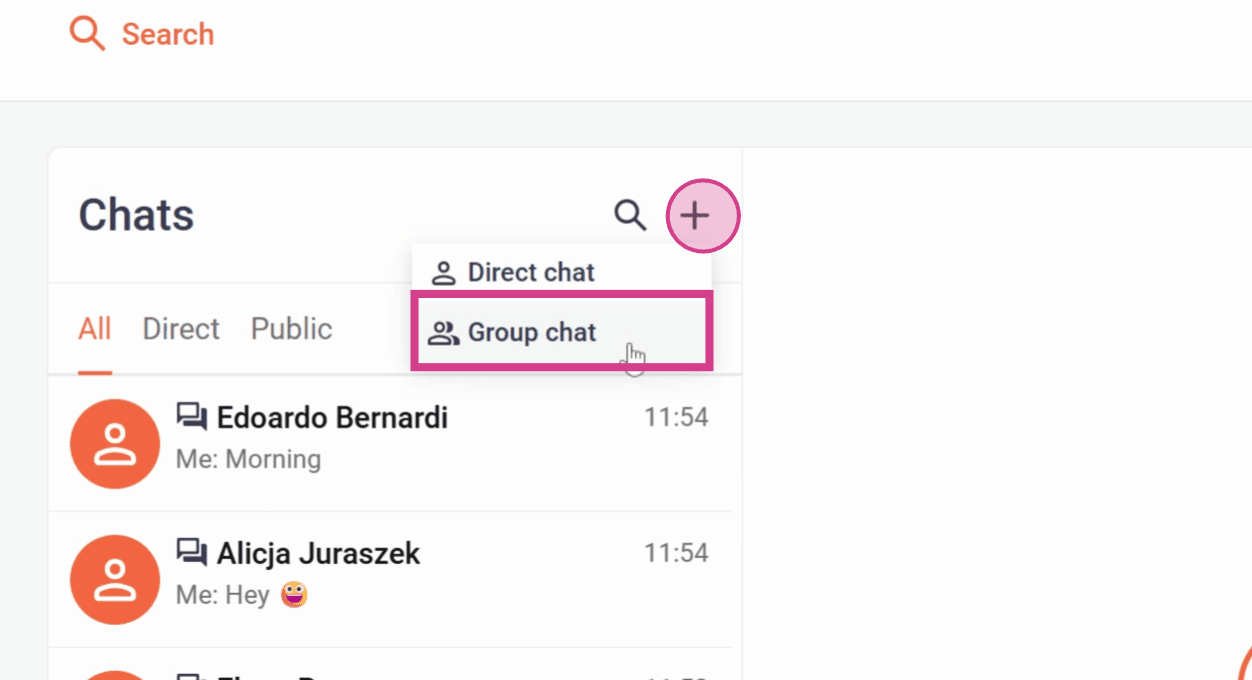
Step 2: Click on the “+” icon at the top and then on Group chat.
Step 3: Choose a Name for the group chat.
You can also upload a picture for the group chat and add a description.

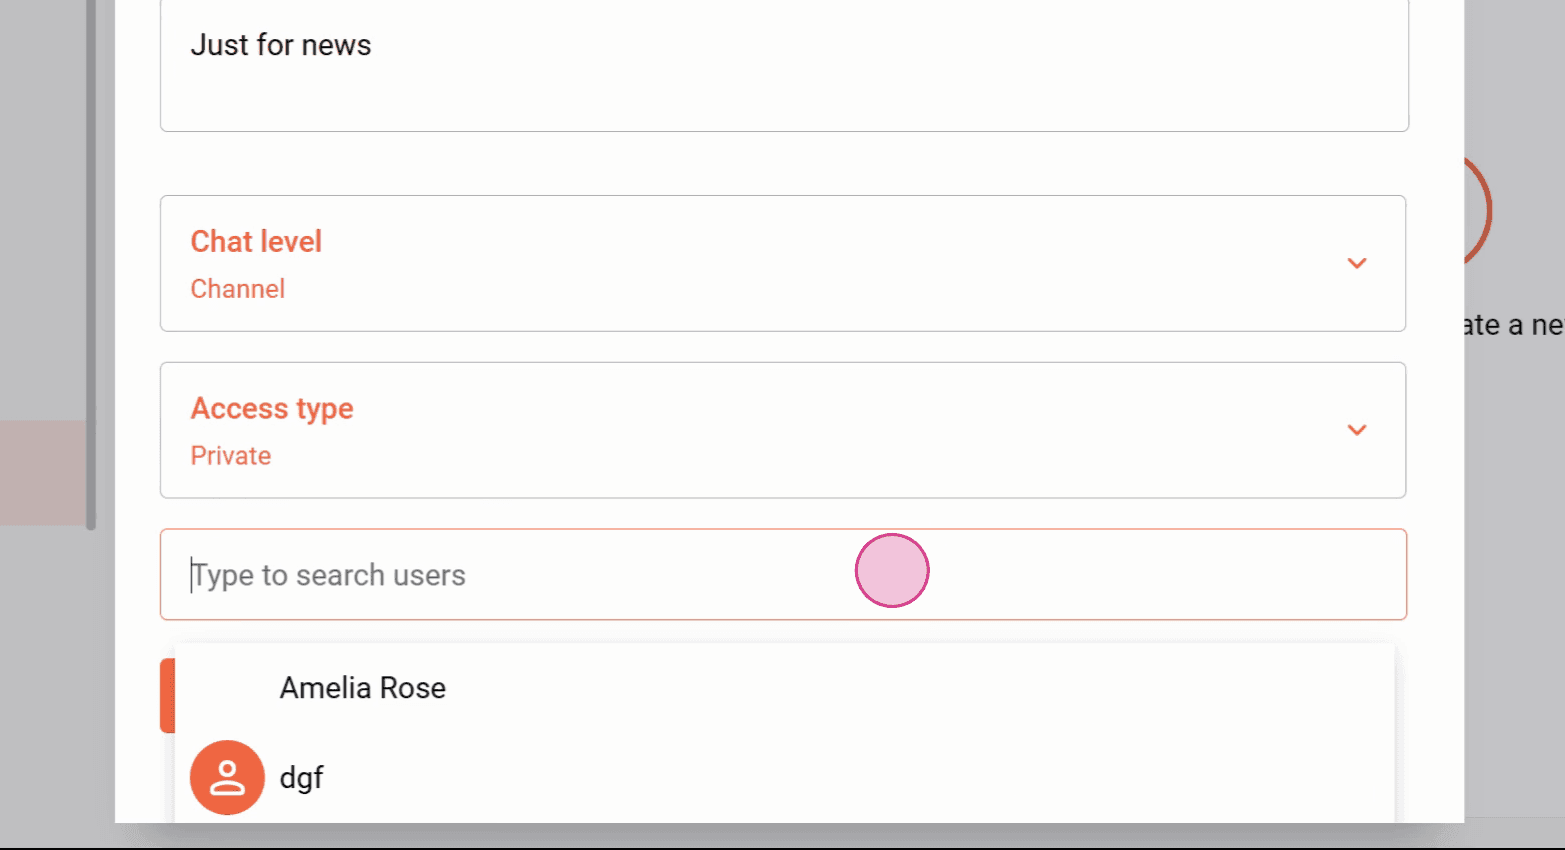
Step 4: Now select the level at which the chat should exist.
Either Channel or cross-channel within the Organisation.
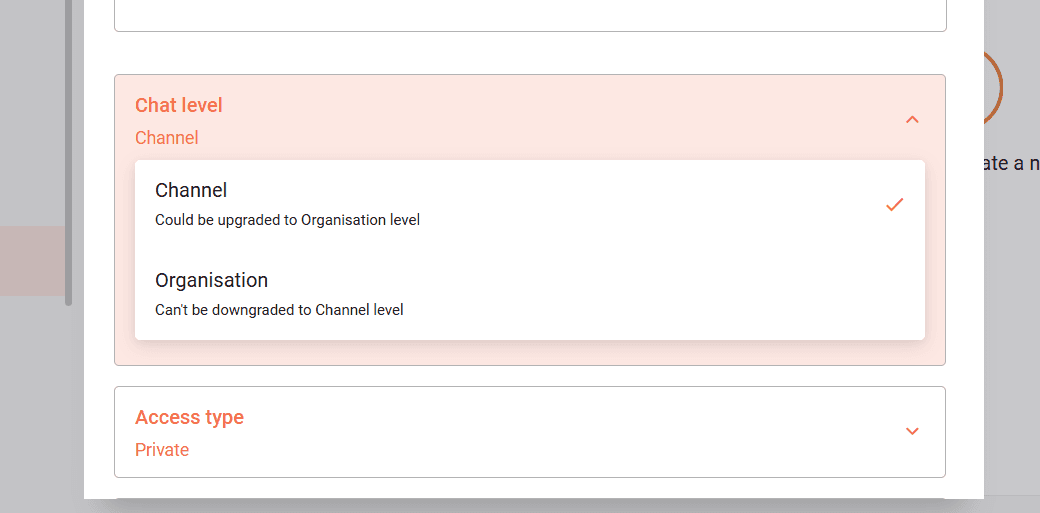
Step 5: Under Access type, select who should have access to the group chat:
Private - Users who have been added can read and write messages.
Public - All users can read and write messages.
All can read - All users can read messages, but only those who have been added can write messages.

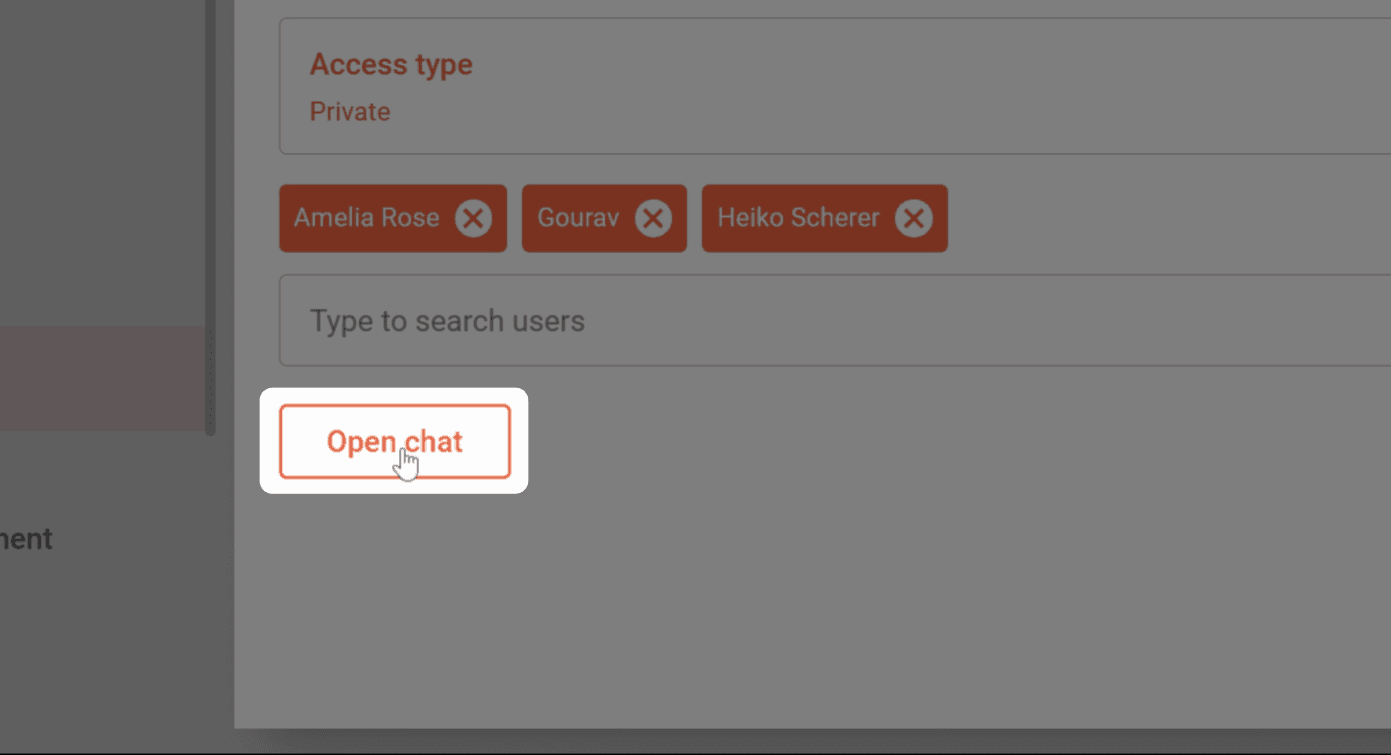
Step 6: Select the users you want to add to the group chat. Then click Open chat.
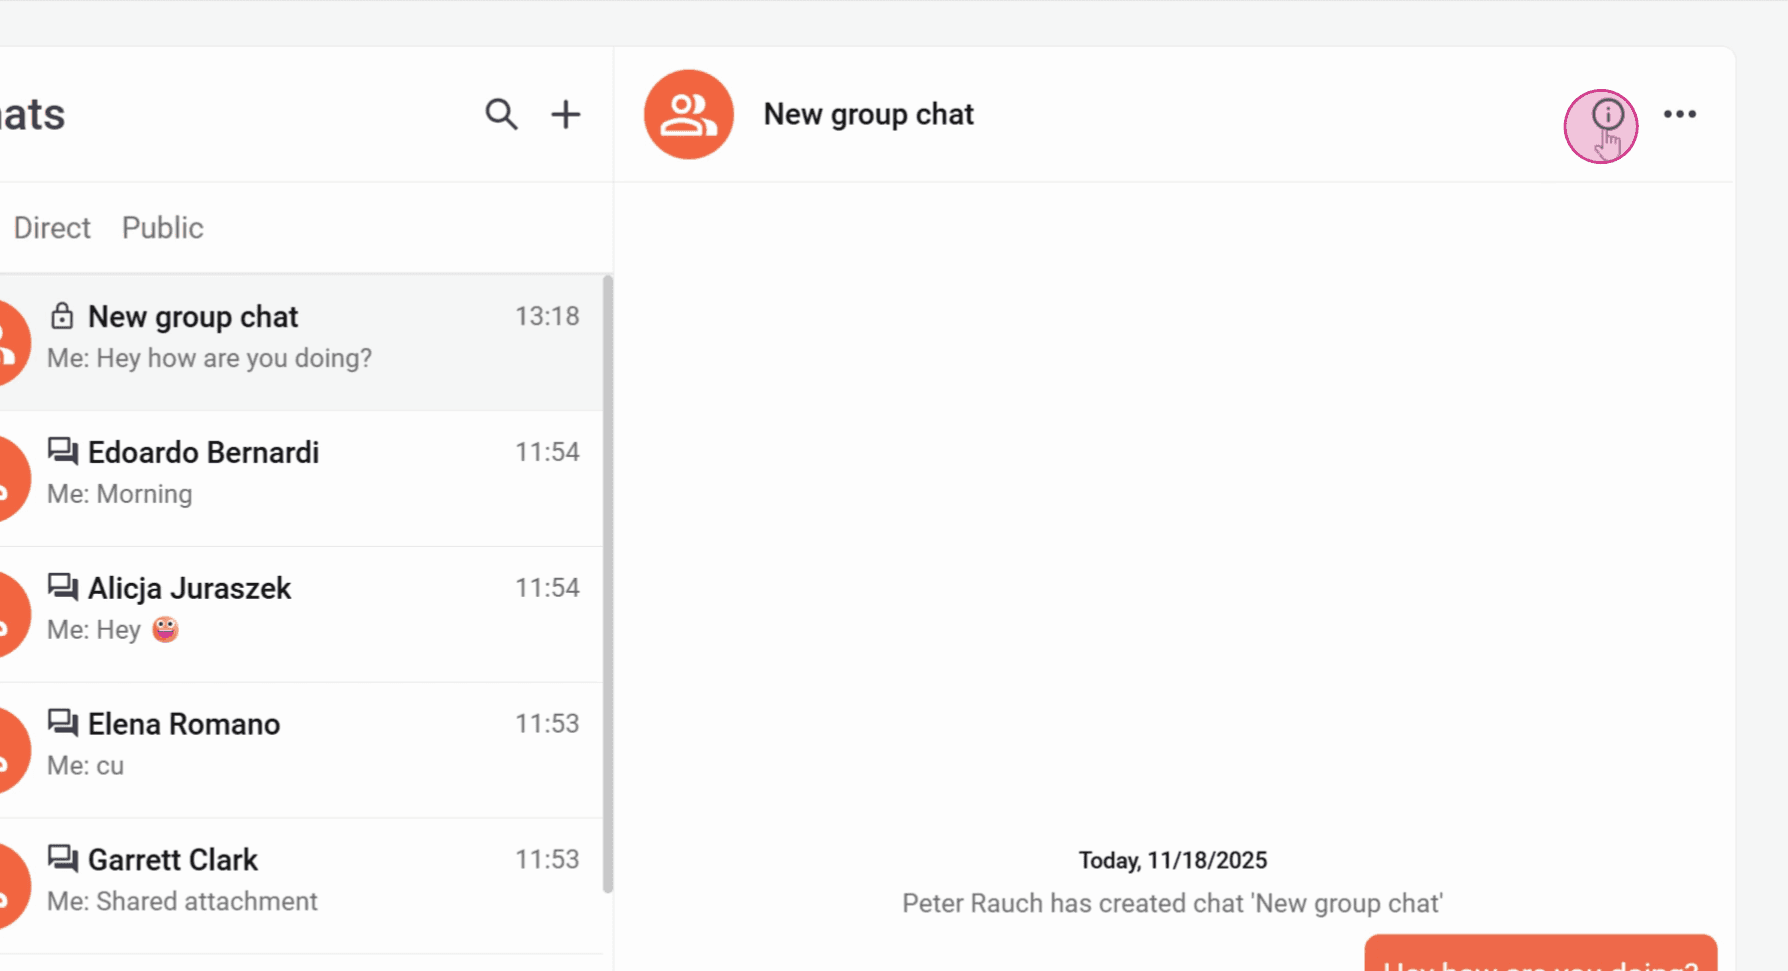
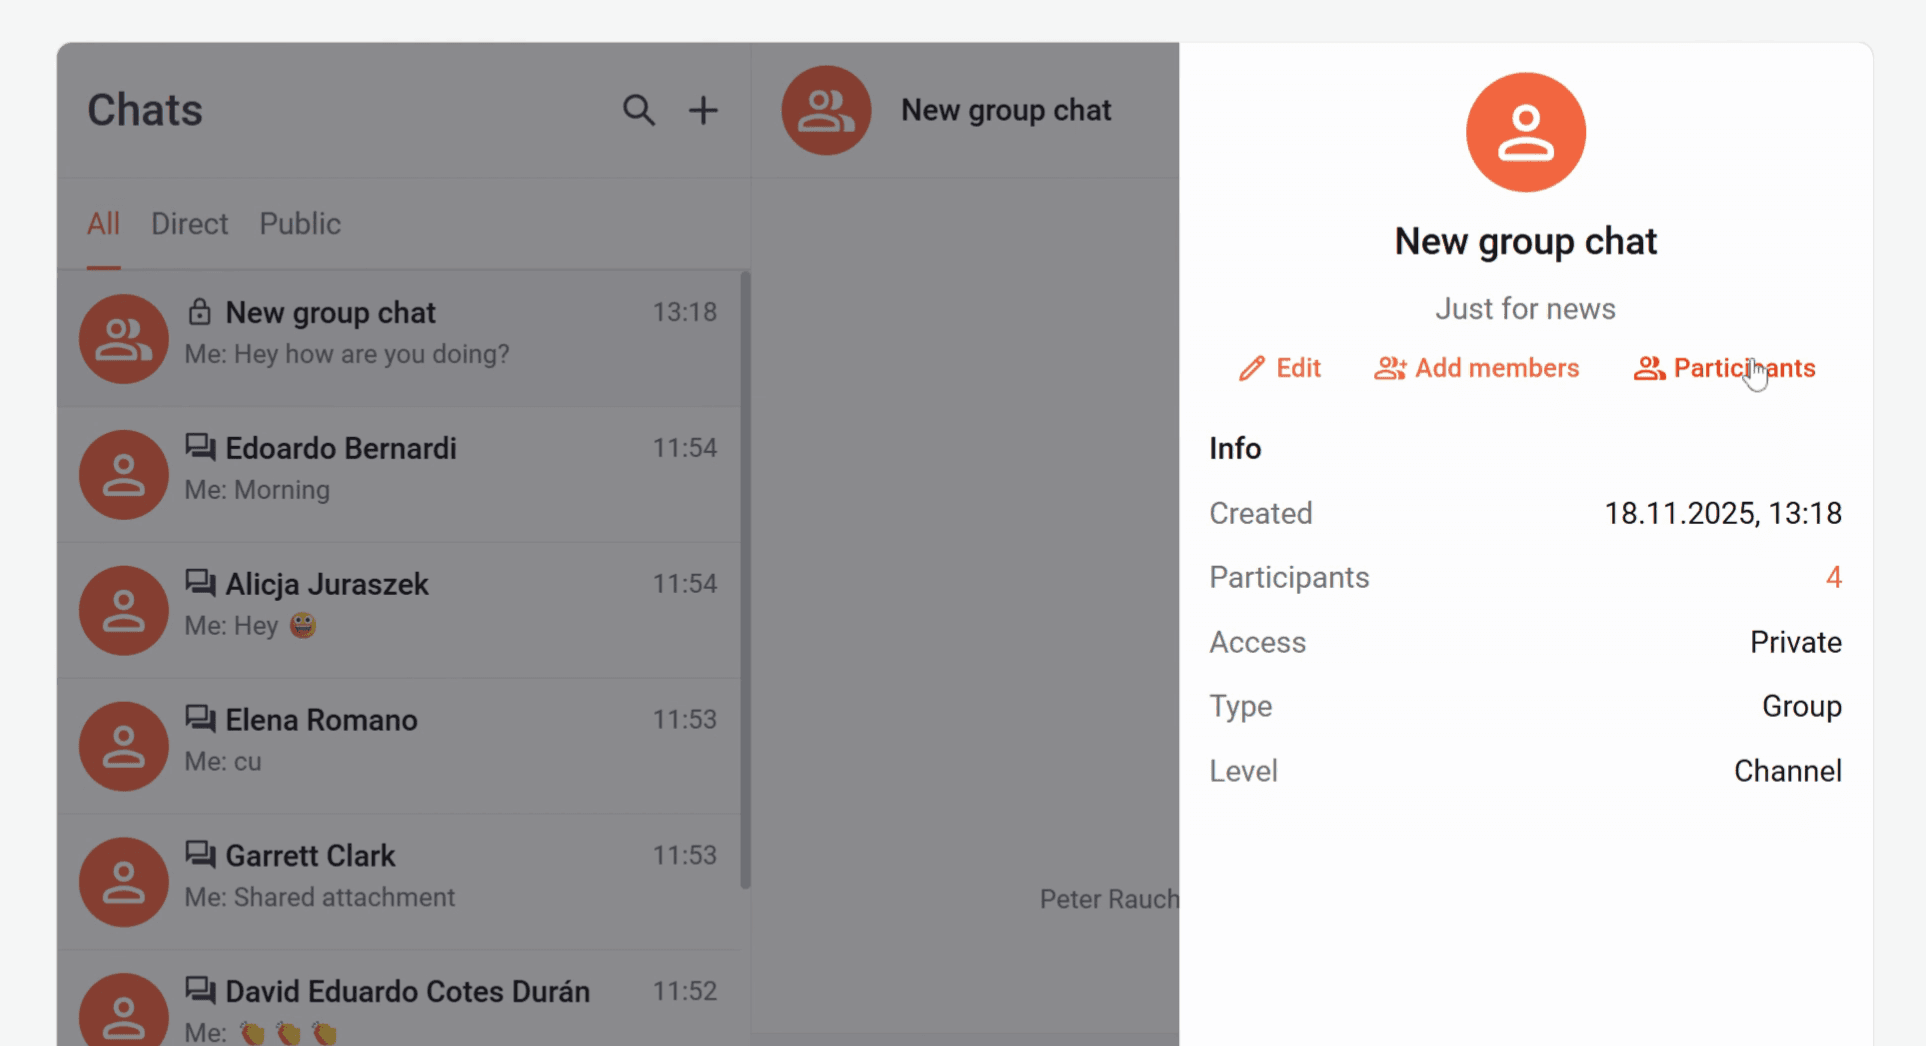
Step 7: Under the “i” icon, you can view the details of the group chat, edit it, add members, and manage the permissions of participants.
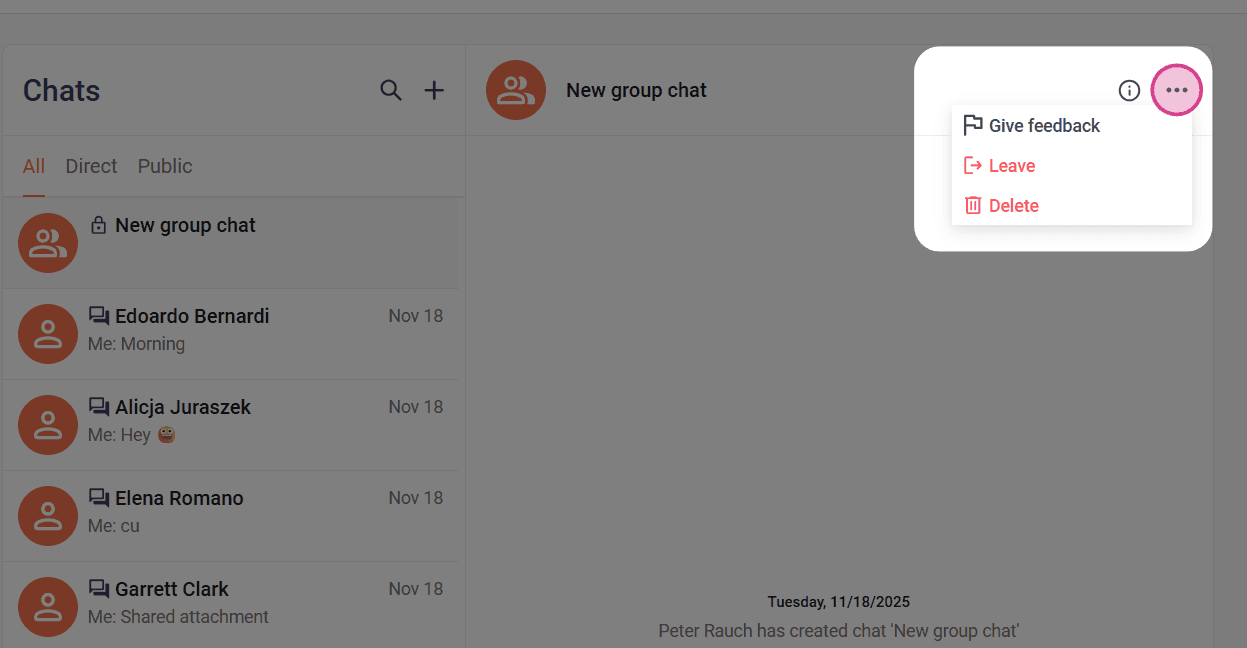
Step 8: Under the three-dot menu, you have the option to Leave the group chat or Delete it.
Now you know how to create a group chat.
Related articles

